
In-Depth Guide for an RV Spring Cleaning & Check
In-Depth Guide for an RV Spring Cleaning & Check
By: Nic & Jess Farish
Congratulations, you made it through winter! Days are getting warmer, the sun is shining brighter, and you're itching for your next RV adventure. However, for a lot of you, your RV has been sitting and collecting dust during these brutally cold months and is in DESPERATE need of a top to bottom cleaning! Well folks, you're in luck, because it just so happens that we know a thing or two, because we've seen a thing or two. And also, we love to clean - so, double win! We have done the research (with kids!), and have THE step-by-step process that will get your RV looking so fresh and so clean!
Helpful RV Cleaning Tips
Before getting your hands dirty, keep these helpful tips in mind to make the process run much smoother.
Tip #1: Do not use bleach.
Bleach has been known to degrade the seals in your tanks over time and you do NOT want things leaking from your tanks... cause like... you get it, it's nasty...
Tip #2: Clean from top to bottom, left to right.
Cleaning in this grid-like pattern will help you stay focused, feel less overwhelmed, and will help you make sure you are covering every spot!
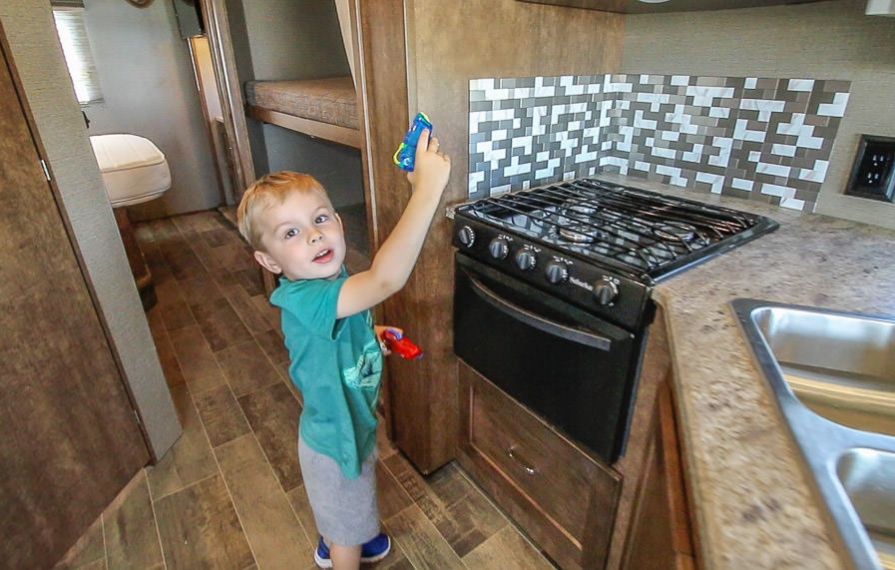
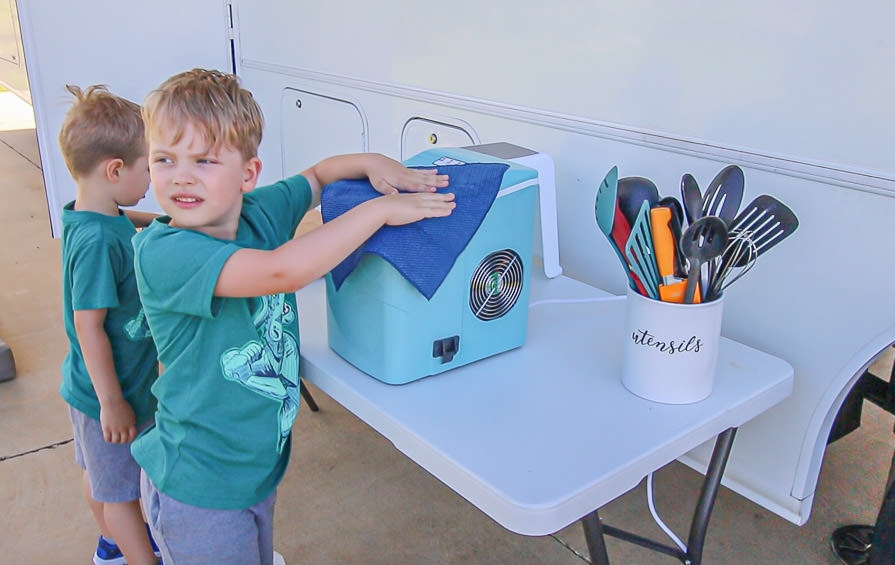
Tip #3: Find a fun way to include your kids.
If you are looking for ways to incorporate your young kids into the cleaning process, hand them water guns. Yes, you heard me correctly. Fill the water guns with the gentlest cleaning solution you are looking to use for the majority of your RV (we fill them with vinegar and water). Then, let them go around spraying surfaces, walls, and any other areas that need the cleaning solution. Our boys LOVE it!
Disclaimer: We are not responsible if your kids go a bit crazy with the squirting... MONITOR THE SQUIRTING!
Tip #4: Do not hesitate to contact a professional, when needed.
We are by no means experts when it comes to all things RV. We have learned a lot and feel pretty confident with our abilities, but we still take our RV into our local dealer or Winnebago Service Department when we need a few technical things looked at (i.e. engine, generator, and tires). If you are unsure of something, don't be afraid to ask the experts, cause like... they know and you don't. For product and service questions, you can contact Winnebago's owner relations department directly at (800) 537-1885.
RV Cleaning Supplies
Household products like Mrs. Myers and a good old-fashioned Swiffer Sweeper are staples in our cleaning process. Our one exception to the bleach rule is Clorox wipes - we use these on surfaces that need extra attention, and because we cook a lot and no one likes salmonella! But for the majority of our RV, we mix white vinegar, lemon juice, and warm water. We found this is the least abrasive solution for cleaning our RV, while still getting the job done in incredible fashion.
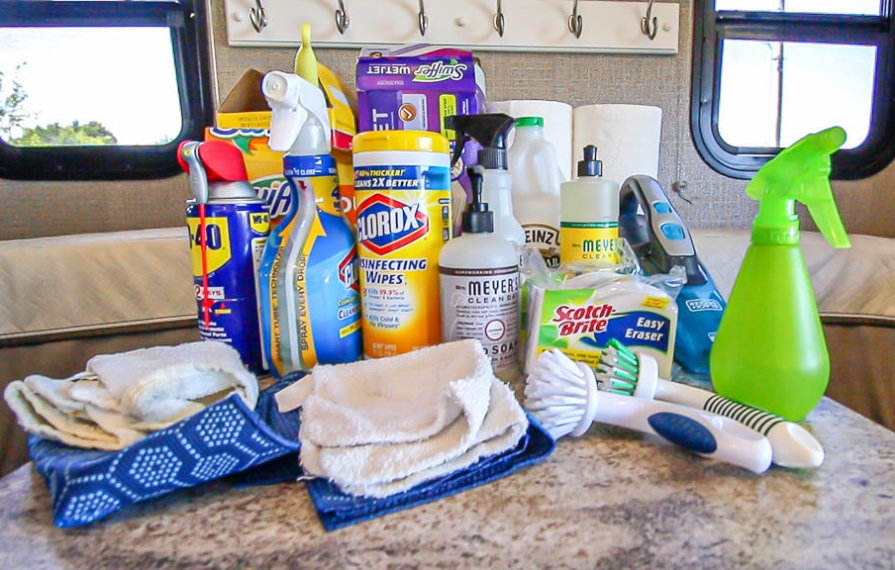
Complete list of the cleaning products we use:
- White vinegar, lemon juice, warm water mix
- Wash rag and/or paper towels
- Clorox Disinfecting Wipes
- Magic Eraser
- Broom
- Swiffer Sweeper
- Vacuum
- Baking Soda and lemon juice paste
RV Cleaning Video Tutorial
Once you've collected your supplies, watch this video to see our best tips for cleaning your RV. Then, refer to the checklists below to make sure you don't miss any steps. Happy cleaning!
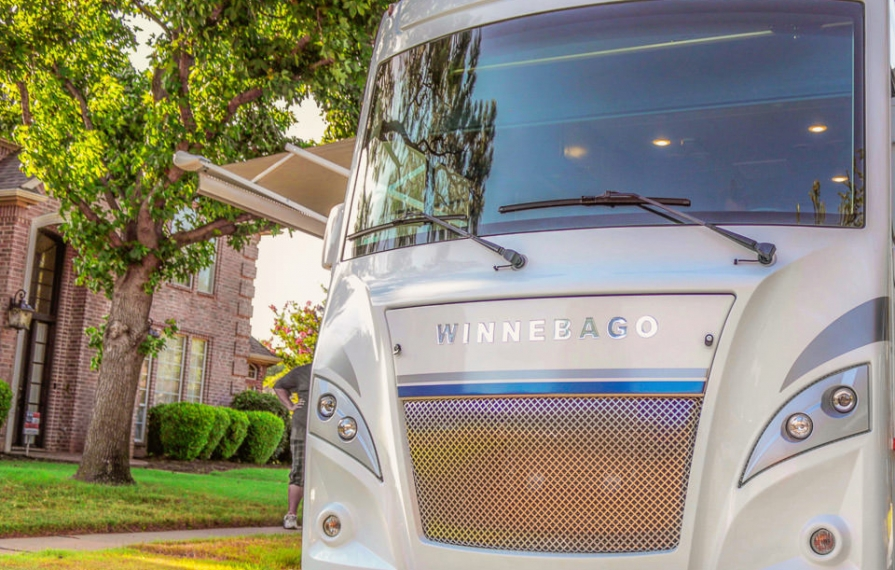
Exterior RV Cleaning & Check
Beginning the cleaning process outside or inside makes no difference in our opinion, but we always like to wash and inspect the exterior first.
Cleaning the RV Exterior
Where you are makes quite the difference on your water availability and the way you go about washing your RV. If water is endless where you are staying, then just wash as you would your vehicle. Start from the top of your RV, wipe down the entire surface of the roof with a rag, then proceed downward applying the same method. Be careful not to use a power washer, it has been known to peel off the decals. If water is hard to come by where you are staying, watch this video by a fellow GoLife contributor - it will take you step-by-step on how to wash your RV with limited water.
Note: We did not go into full detail on how to clean the exterior of your RV because the video mentioned above explains in detail just how to wash an RV with limited water. Check it out here.
Exterior RV Checks
As previously mentioned, we by NO MEANS are RV experts. There are a few areas that we rely on professionals to look at, but there are still a few things that we check on ourselves!
1. Check all fluid levels under the hood. Make sure that you are filled up on washer, brake, oil, and wiper fluid. We have forgotten about the wiper fluid in the past, and well... bugs.
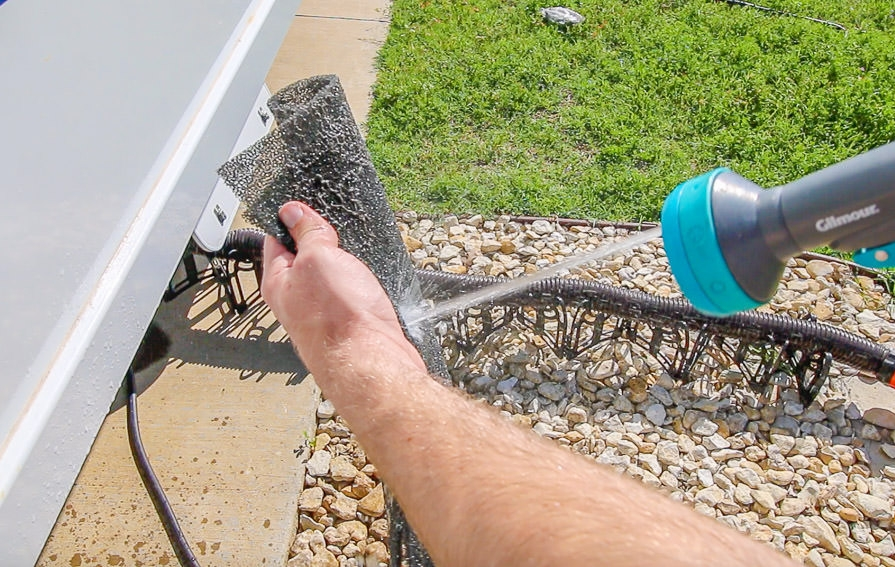
2. Clean out the storage compartments. This is most important with the compartment that houses your water tank. Let's be real, it can get ugly in there. You work so hard to empty it out frequently. But at the end of the day, it still gets a bit messy and there is not much you can do to prevent that! To clean this out, remove the drain cap, rinse with a hose, scrub with soap, rinse again, drain, ... and never look back.
3. Inspect the awning. If you are like us, and are staying in a pretty windy location, chances are you may not have had much use of this incredible device. Find a day that the winds are calm, and slide it out in all of its beauty! Make sure that it is sliding out properly, then check the LEDs to see that they are also working as they should. This is an amazing feature, and one that can definitely come in handy when the sunshine is beating on your face.
4. Check outdoor appliances. Make sure all outdoor refrigerators are cooling, and TVs are working with a click of a button!
5. Inspect the roof. Anything on top of the roof that has been drilled into your RV can cause a potential leak. Look for any breaks or cracks in the sealant. If you do notice any, make sure to caulk those areas with an approved sealant, or take your RV to the Winnebago Service Department or your local dealer, and they will repair it for you!
Interior RV Cleaning & Check
Like any home, the inside of your RV is your sanctuary! It's where you start and end your day. You bought your RV for the great outdoors, but you still spend quite a bit of time inside. After a while, your RV begins collecting dust, smudges, and just needs a good cleaning! But don't worry, you now have the comforts of A/C, refreshments, and ... the kids.
Interior Cleaning Checklist
Remember to clean top to bottom and left to right to make sure you don't miss anything.
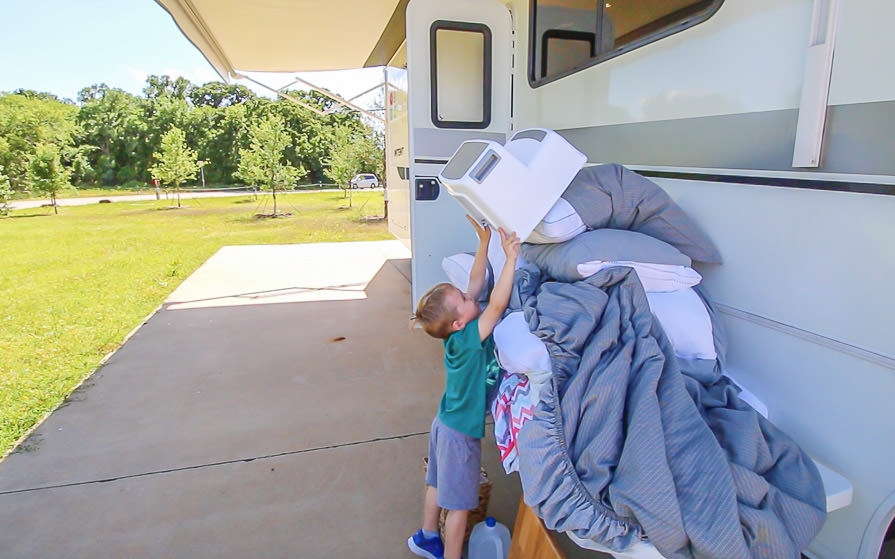
1. Remove household items.
One of our pro tips is that before you bust out those cleaning supplies, take everything out of your RV. Cushions, linens, smaller appliances, and anything else you find on counters. This will help you in the cleaning process so that you're not having to clean around items or move them out of the way. This will help you to not feel so overwhelmed! Make sure to place these items in a safe and protected spot outside your RV.
2. Give the kids a job.
If you have young kids, this is their moment to shine! Hand them a small water gun filled with the cleaning solution and direct them to spray the ceiling, walls, counters, and cabinets. We have found incorporating our kids in the cleaning process in a fun and playful way helps our cleaning process run MUCH smoother, and A LOT faster!
3. Start with the ceiling.
After your kids have successfully turned your RV into a water park, begin on the ceiling. Wipe down all areas of the ceiling. Make sure to scrub all can-lights and vents, which may have collected quite a bit of dust.
4. Clean your vent filter.
To remove the filter from your vent, you will first need to remove the lid. This can simply be done using a screwdriver. Once you've taken out the filter, rinse it with water (removing all dust), and let it dry. Once dry, place it back into the vent along with the lid. Super easy and SUPER important!
5. Wipe down the walls.
Once all areas of your ceiling have been addressed, move down to the walls. Apply the same steps you did with the ceiling. Wipe all areas of your walls! This includes cabinets and doors as well. I know this can feel like a lot, so if you feel a bit overwhelmed, just have your kids draw on the walls ... with the rags. They'll never know the difference, right? ;) Hang in there, this is the toughest part!
6. Wipe down all remaining surfaces.
This includes countertops, your front dash, chairs, couches, and TVs.
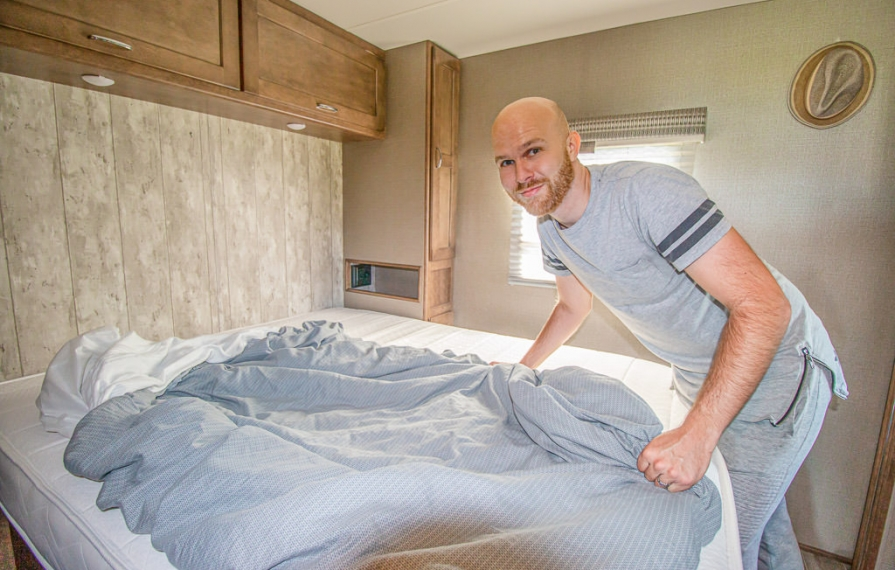
7. Clean the beds.
Wash all bed linens and vacuum each mattress.
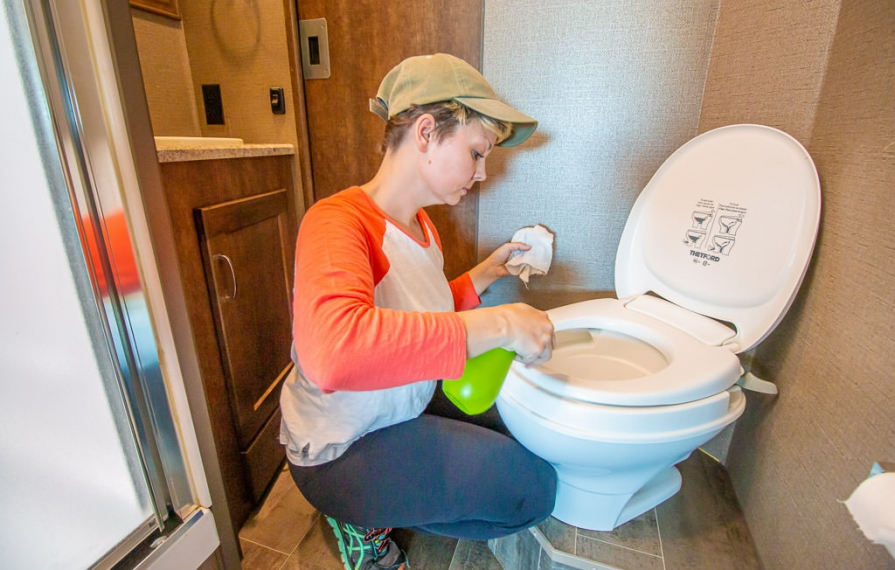
8. Scrub the bathroom.
Moving into the bathroom, sprinkle some baking soda and lemon juice into your toilet and shower and let sit. After about 15 minutes, scrub toilet and shower, and rinse. Make sure to wipe down at the end for a nice super-shiny bathroom!
9. Wipe down sinks.
Use a non-abrasive cleaning solution to clean this part of your RV. We use Mrs. Myers, but there are many to choose from.
10. Wipe down all windows and mirrors.
Be sure to use an ammonia-free product on tinted windows.
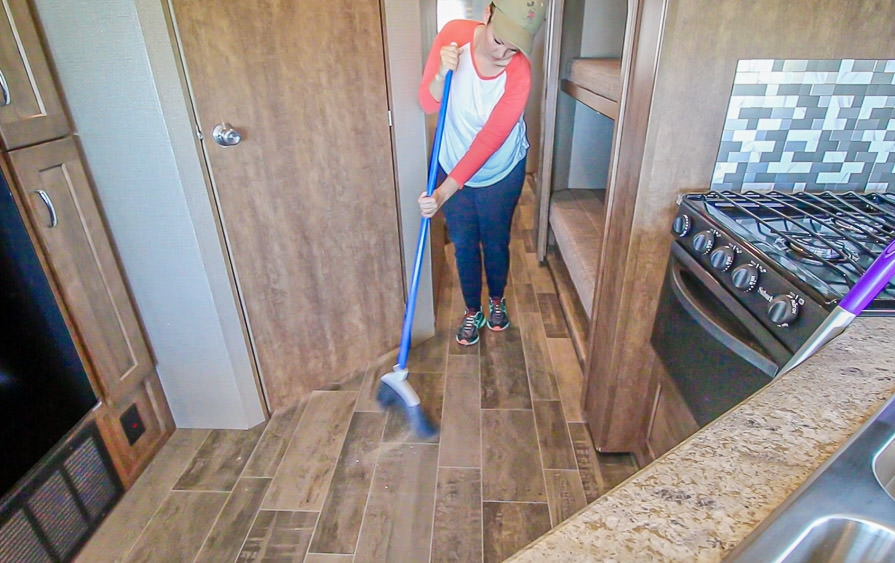
11. Sweep and vacuum.
After all the ceiling, walls, counters, and cabinets have been cleaned, you will find that a lot of the dust has fallen to the floor. Grab your broom (cause it's a mess), and begin sweeping into piles. Make sure you are sweeping every corner, behind furniture, and anywhere else dust might be hiding. Vacuum each pile, then proceed to mop all areas of the floor.
12. Clean the oven.
Making a paste out of baking soda and warm water, spread paste inside your oven and let sit overnight. This will remove all splatters and spills that have accumulated over time! Wipe clean the next day.
13. Clean your microwave.
Wipe down the inside of your microwave with vinegar, lemon juice, and warm water. A good tip here is to microwave a wet paper towel for a couple of minutes, then wipe down with the solution. That extra step just helps to get everything good and loosened up.
14. Wipe out the fridge.
First, remove all questionable food that has been lingering in the back of the fridge for a while. (If you're unsure, THROW IT OUT! It's just not worth it, you guys.) Then, wipe down the inside of your fridge with your vinegar solution. While you're at it, throw a box of baking soda in there and replace every now and then as it loses its deodorizing power.
15. Clean out the pantry.
Remove all old spices and food you haven't touched in the pantry. (Space is limited people, and you NEED all the extra space you can get). Maybe now is a good time to organize your shelves with sliders or baskets as well. The nice thing about spring cleaning is that you get to decide how far you go!
Pause for break time.
Since your floor is spic and span, this is a good time to sit down for a minute because YOU earned it! Don't even think about how there are still like 4 (maybe 5... or 6) steps left- all that matters right now is that all your hard work is paying off. Grab some freshly squeezed lemonade, talk to your kids about walking uphill both ways, and dream about nice long trips in your beautifully cleaned RV.
Ok, break is over, time to get back to work!
16. Clean household items and put them back.
Remember all of those items you took outside? Well, it's time to bring those back inside, but first you will need to wipe down and clean those items. Shake out all the rugs, wipe down and vacuum all cushions, and then bring all items back to where they belong.
17. Check smoke detector and fuses.
Replace batteries in your smoke detector if needed. Also, check all fuses to make sure they are all working as they should.
18. Check tank sensors.
The final step is to check your black, gray, and freshwater tank readers and sensors to make sure they are reporting an accurate level.
Celebrate being finished
Ladies and gentlemen, you did it. HOORAY! Go ahead and pat yourself on the back because you are now OFFICIALLY ready to hit the road. Not feeling up for it just yet and need to rest? Totally understand, find that pillow, and dive into those freshly washed linens and dream about that upcoming road trip with the family!
Final RV Cleaning Advice
Remember, do not stress over getting this accomplished in one day! A lot of people (including us) break this down into sections. We will often focus on the outside of our Intent one day and the inside another. That is TOTALLY fine! Cleaning your entire RV is a lot of work, but is SO worth it in the end!
As I mentioned earlier, if you are unsure about how to do something, or are not sure you have the abilities to properly check something, seek the guidance of your local RV dealer or Winnebago Owner Relations. They are there to help, and at the end of the day, it's nice to feel assured that an expert is looking at your rig.
Happy RV season everyone! Get out there, explore, and make some memories with your family.
Comments
Comments on this post are moderated, so they will not appear instantly. All relevant questions and helpful notes are welcome! If you have a service inquiry or question related to your RV, please reach out to the customer care team directly using the phone numbers or contact form on this page .