
Installing Additional Solar Panels on a Winnebago View
Installing Additional Solar Panels on a Winnebago View
By: Peter & Kathy Holcombe
Since we became full-timers, we rely on our Winnie for everything that our home in Boulder, Colorado, used to provide. We often choose the path less traveled, and spend a majority of our time exploring endless dirt roads through public lands and rarely cross the threshold of a campground. We consider this a life well lived, but there are a few limiting factors that force us back into civilization, one of which is power. Fortunately, our View is well-equipped with an Onan diesel generator that feeds off of our fuel tank and keeps us powered-up and operational indefinitely.
But it's noisy and smelly, and we typically only use it in short bursts to run our microwave. Or to cope with extreme weather conditions, i.e. sub-zero temperatures. Our preferred power source is solar, which we rely on to meet our day-to-day power demands. As long as it is sunny outside, we are constantly charging our house batteries in a clean, silent and environmentally responsible way.
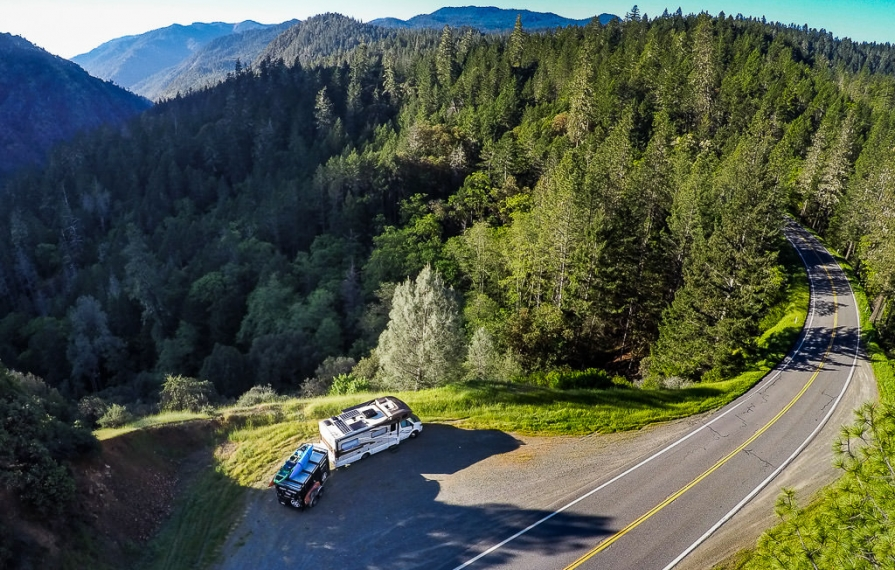 With most of our days spent boondocking in wild places, the ability to replenish our house batteries while off the grid is a must.
Why we added more solar
Our 2016 Winnebago View 24J came from the factory with a 100-watt Zamp Solar system installed. We used this stock system for nearly five months, and it worked. But on cloudy/rainy days we frequently had to supplement solar by running the generator. And inevitably, we would need that extra power boost late at night when the noise and smell of the generator was incredibly obnoxious to anyone within earshot.
Fortunately, our Zamp system has additional capacity, and is pre-wired with a plug, making it effortless to add more panels to the system. There are numerous options for the capacity and shape of the panels. So we spent an afternoon on the roof with homemade cardboard stencils to determine which configuration was best for the space we had available around our rooftop components that were already in place. Ultimately, we determined that we had room for two 160-watt panels, which maxed out the capacity of our system with a total of 420 watts.
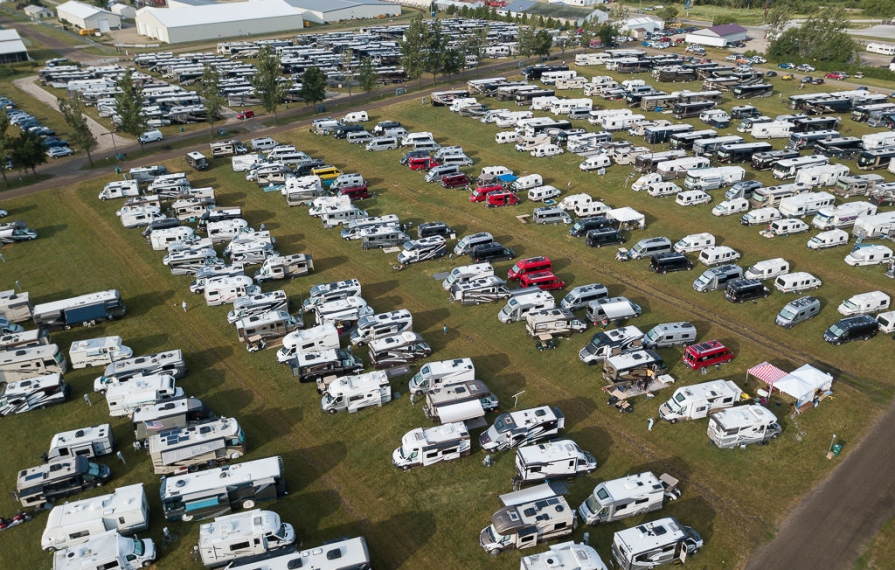 The Winnebago Grand National Rally is a gathering of 2,500 RVers in Forest City, IA, each June. We installed our new panels in about an hour during the rally.
Installing the panels
We received the panels and mounts while at the Winnebago Grand National Rally, and installed them in about an hour in a giant field surrounded by 2000 other RVs. The kit came with four mounting feet each that attach to the panels and hold them in place. You can screw the feet directly to the roof, but the thought of putting holes in a perfectly functioning, water-tight roof, was less than appealing. So, we opted to use 3M VHB tape instead. This double sided tape is amazingly strong and resilient and is used for a variety of critical applications, from holding windows in modern skyscrapers to mounting ambulance bodies to their frames.
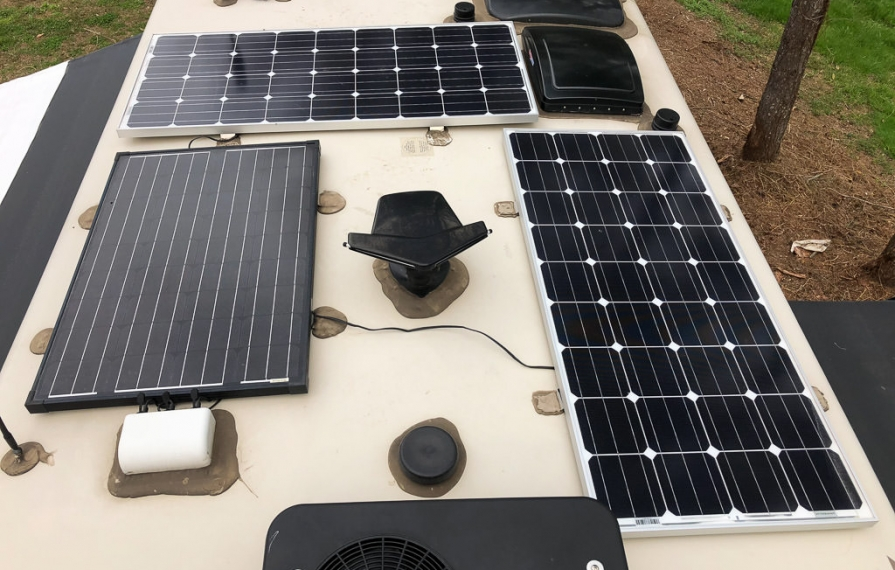
The panel on the left is the original 100-watt panel that came from the factory with our View. The top and right panels are what we added to the system and are 160 watts each.
To install, we cut the VHB tape to the exact shape of the feet with an Exacto knife and cleaned the mounting feet with soap, water and a final swab of rubbing alcohol before applying one side of the tape to the feet. Next, we carefully cleaned the roof in the same manner, and marked exactly where each foot should be placed. It took two of us to handle the unwieldy panels. We then removed the second layer of backing from the VHB tape and carefully positioned the feet to rest on the pre-marked locations on the roof. We applied pressure to ensure that each foot was securely bonded, and, for good measure, applied a coating of Dicor self-leveling adhesive to protect the VHB tape from the elements.
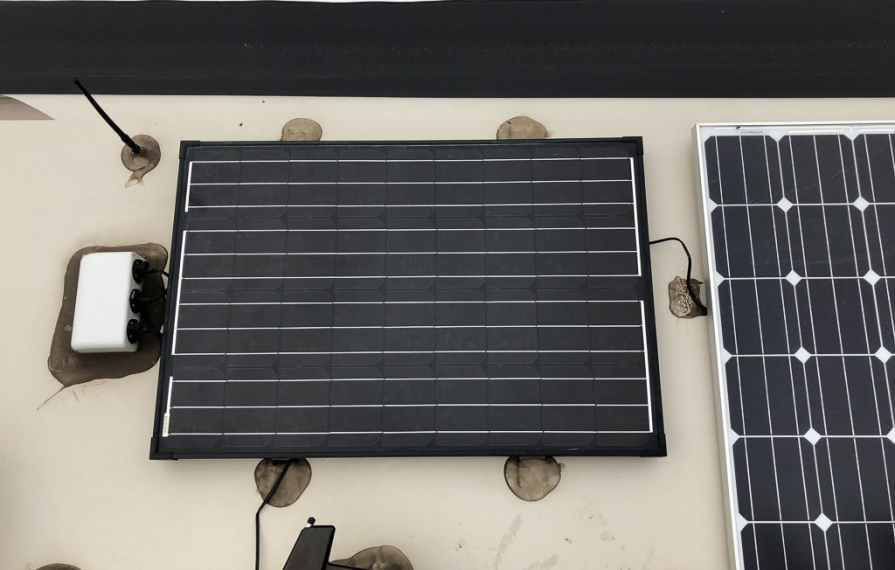
Here you can see the factory installed 100-watt Zamp panel with the junction box sitting on the left of the panel.
The next step was to connect the wiring of the new panels to the existing system. This was the easiest part of the install, because all of the new Zamp panels plugged directly into a port on the factory installed junction box that came with our original system. We secured the cables running from the panels to the mounting feet with a few zip ties to help eliminate any additional road noise.
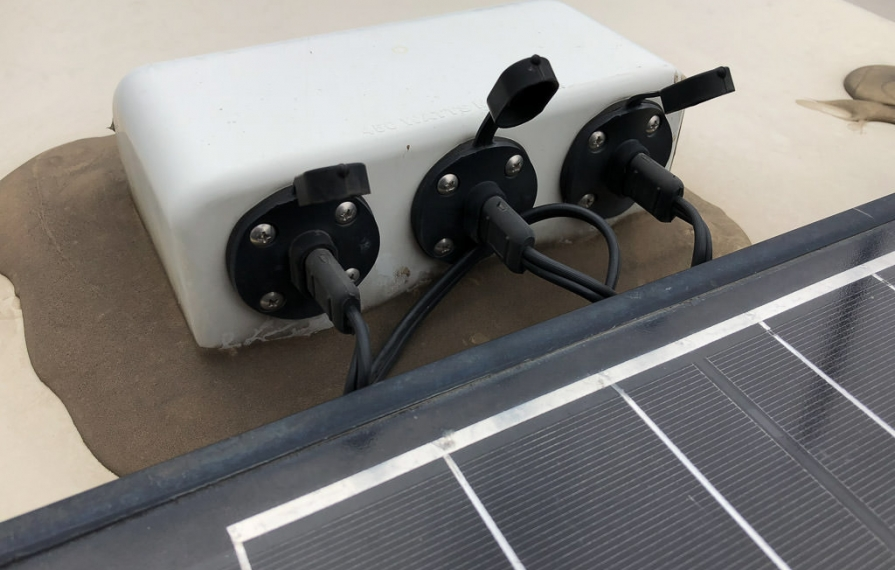
The junction box that was installed at the factory makes adding panels a snap. With two extra ports, you simply plug in the new panels and you are up and running.
Usage test
The entire install took about an hour from start to finish and the panels are still securely attached, fifty thousand miles later. The increase in speed at which our batteries recharge was noticeable from the moment we plugged in the additional panels, and our ability to capture power even on cloudy days has increased. However, the additional input is negated unless you increase your storage capacity.
For our tips on upgrading your battery capacity, read this article that goes over our battery modifications.
Comments
Comments on this post are moderated, so they will not appear instantly. All relevant questions and helpful notes are welcome! If you have a service inquiry or question related to your RV, please reach out to the customer care team directly using the phone numbers or contact form on this page .