
Basic Supplies for RV Winterization
I know it seems like summer just ended last week (because it did), but the weather in our neck of the woods has gotten suddenly cold. That's turned my mind to winterizing the RV. And even though you may be enjoying a fall warm spell where you are ... eventually you'll be thinking of this too. So I thought I'd use the opportunity to go over a few basic supplies you might need.
These aren't going to be winterization "instructions." Every rig will have somewhat different instructions for how you should winterize it. So regardless of what you read here or elsewhere on the internet, the instructions in your owner's manual should be the final word on what you do. But across the board, some supplies are common, and that's what we'll cover here.
There are two basic ways to winterize your RV, and the idea behind both of them is the same: you want to get the water out of your plumbing system. The first method uses compressed air to expel the water (the blow-out method), while the second method relies on RV antifreeze to replace the water (the "pink stuff" method). And actually, there's a third method; the drive-it-to-Florida-and-don't-worry-about-it method. But that one's pretty self-explanatory and doesn't require any special equipment. ;-)
Equipment for the "Blow Out" Method
The Compressor
The most obvious thing you'll need for this is an air compressor. In my shop, I have a 60 gallon 10 cubic-foot-per-minute compressor that I use. You don't need anything that large, as you won't be trying to force all the water out of your plumbing system. Your rig should have low-point drains on all the water lines -- when you open them, gravity will remove most of the water for you.
Now, if you believe everything you read on the internet, some people claim to successfully winterize their RV with nothing more than an emergency flat-repair compressor like this:
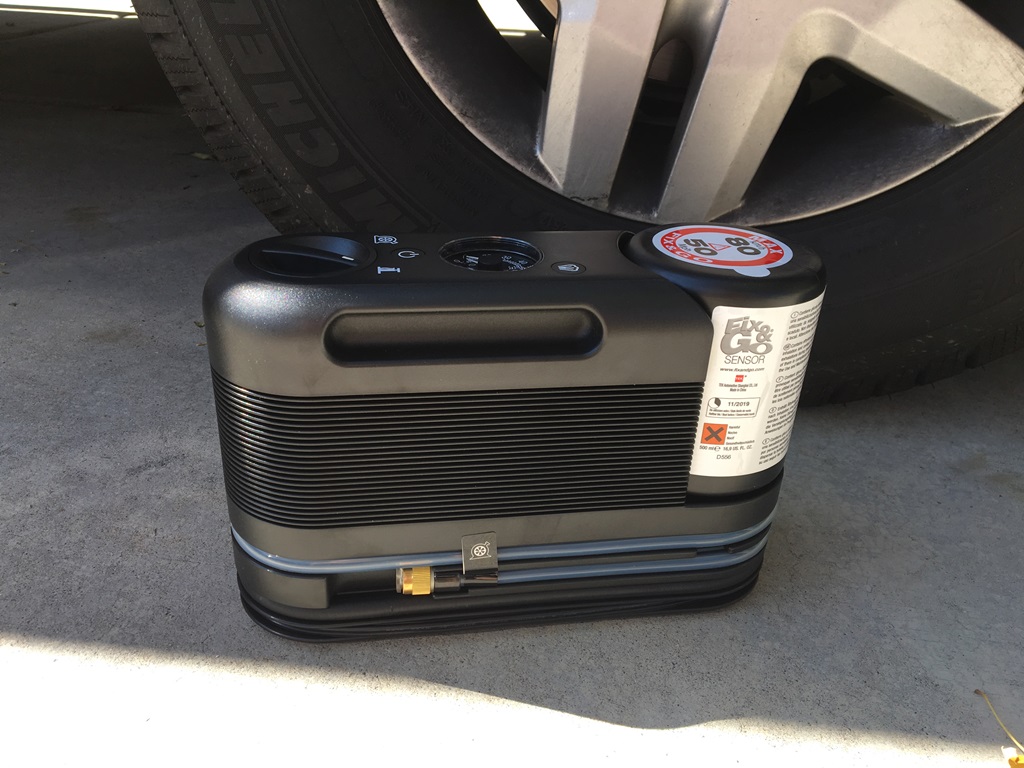
But when winterizing an RV, what you really need is air volume, not air pressure. You'll only be blowing out your lines at 35-50 psi -- any higher may damage your plumbing. While those little pumps can put out a good bit of pressure, they're lacking in air volume. As an example, the owner's manual for our Winnebago Travato says to leave the air compressor connected and blowing for 5 minutes. There's no way this little pump can supply a constant flow of air at any reasonable pressure for 5 minutes.
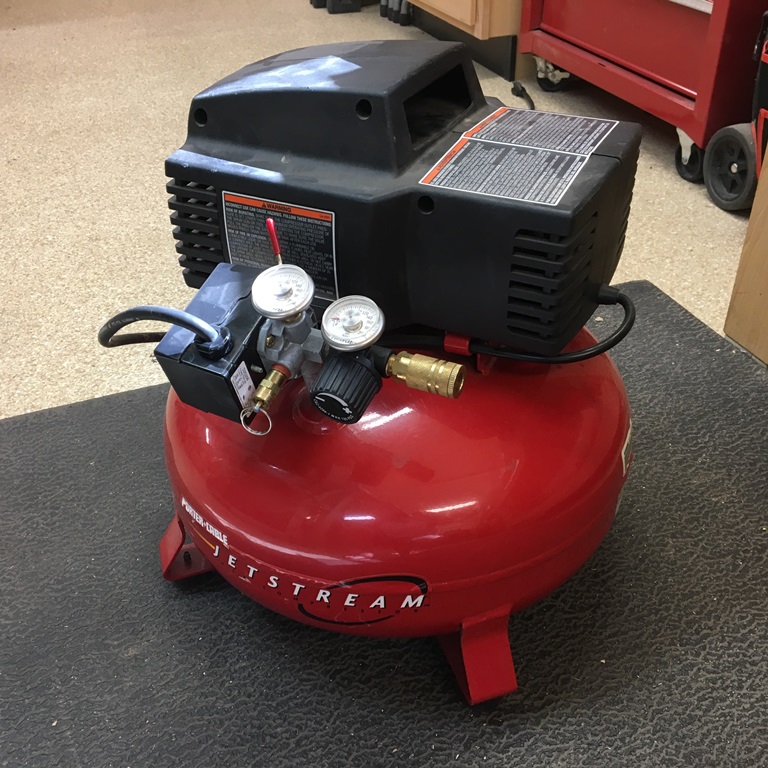
I won't try to tell you exactly how big of a compressor you need, but it's something more than a tire pump. A good-sized pancake compressor like this might be a good compromise, but you'd probably need to let the tank recharge several times to get the job done.
The Pressure Regulator
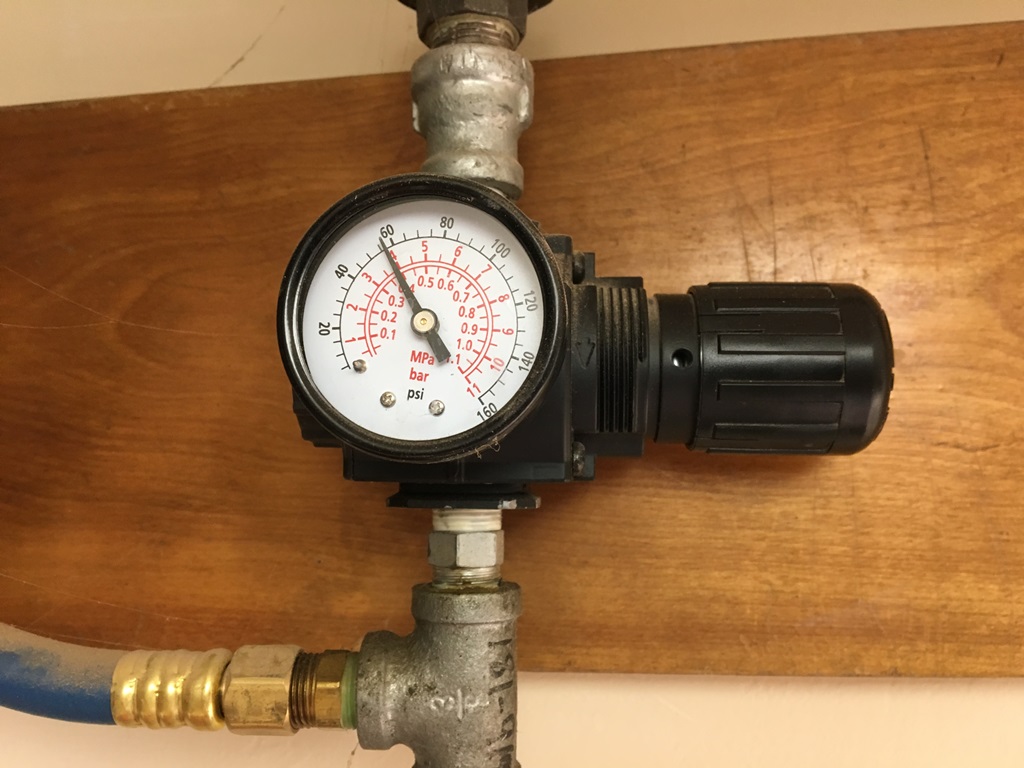
I touched on this earlier, but if your compressor doesn't come equipped with one, you'll want to get a pressure regulator to keep the air at a safe pressure. Your RV's plumbing system isn't designed for 90 psi. They're typically designed for half that. Check your owner's manual for the maximum pressure recommended by your RV's manufacturer, and get a regulator that can match the pressure from your compressor to the pressure required by your RV. Most will be able to get by with something like this:
An Air Filter
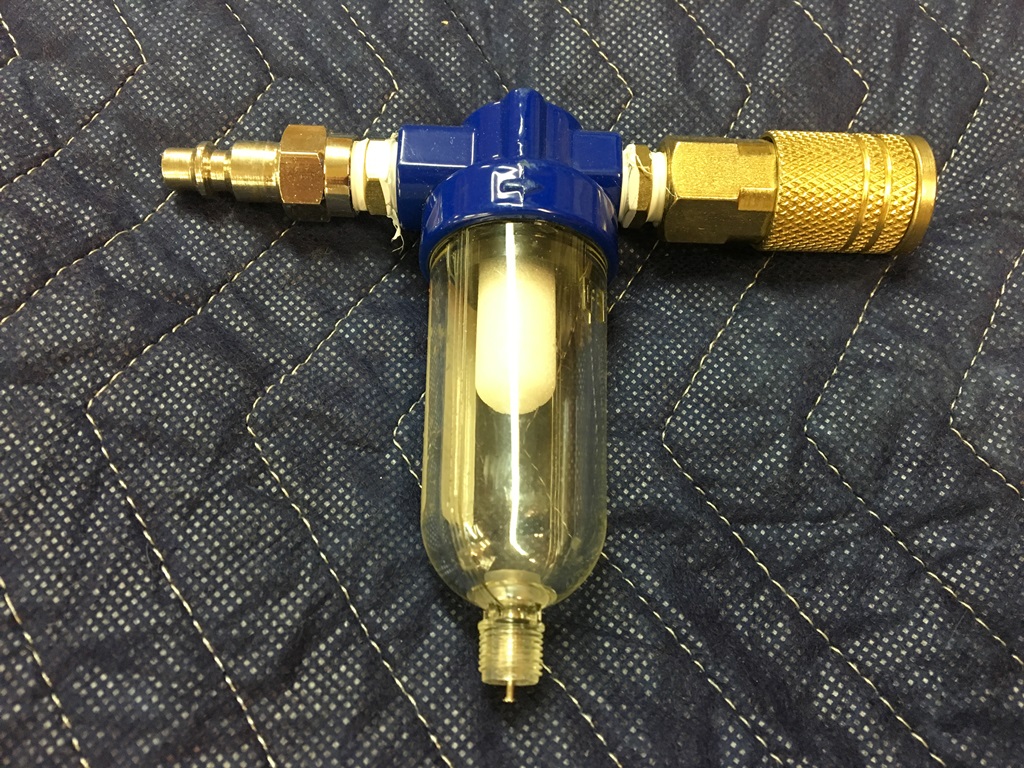
The inside of an air compressor can be a dirty place. Think about it: you're going to be putting that air into your water lines and letting it sit over the winter. You don't want to blow rust, oil, 3-month-old condensate, or any other funk into your fresh water system. For this reason, I always use an air filter when blowing out our RV's water lines. Luckily, these aren't expensive. Something like this should get the job done:
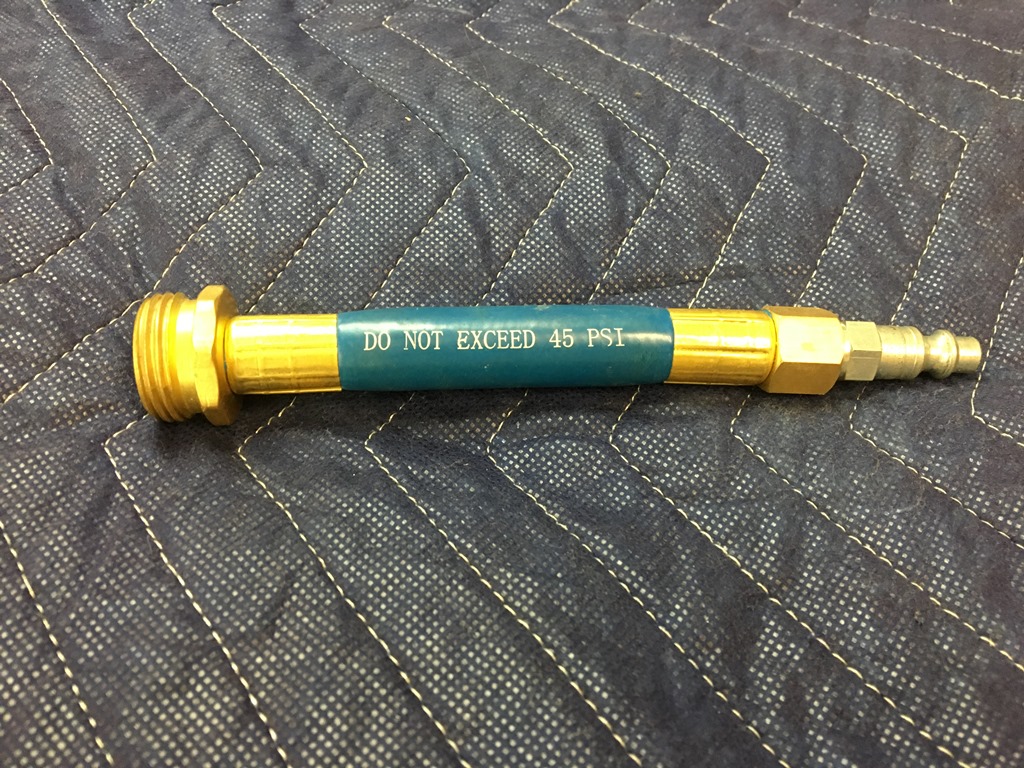
The Blowout Plug
This is probably the most obvious piece of equipment you'll need. It's what adapts the air compressor fittings to the garden hose fitting at your RV's city water input. You can buy these online from any RV accessory store, and they aren't expensive. I've had this one for years now.
RV Antifreeze
Even though this is the blowout method, you'll still want a small bit of RV antifreeze to put in the traps underneath your sinks and showers to keep those from freezing. I'll go into the different types in the next section.
Equipment for the RV Antifreeze Method
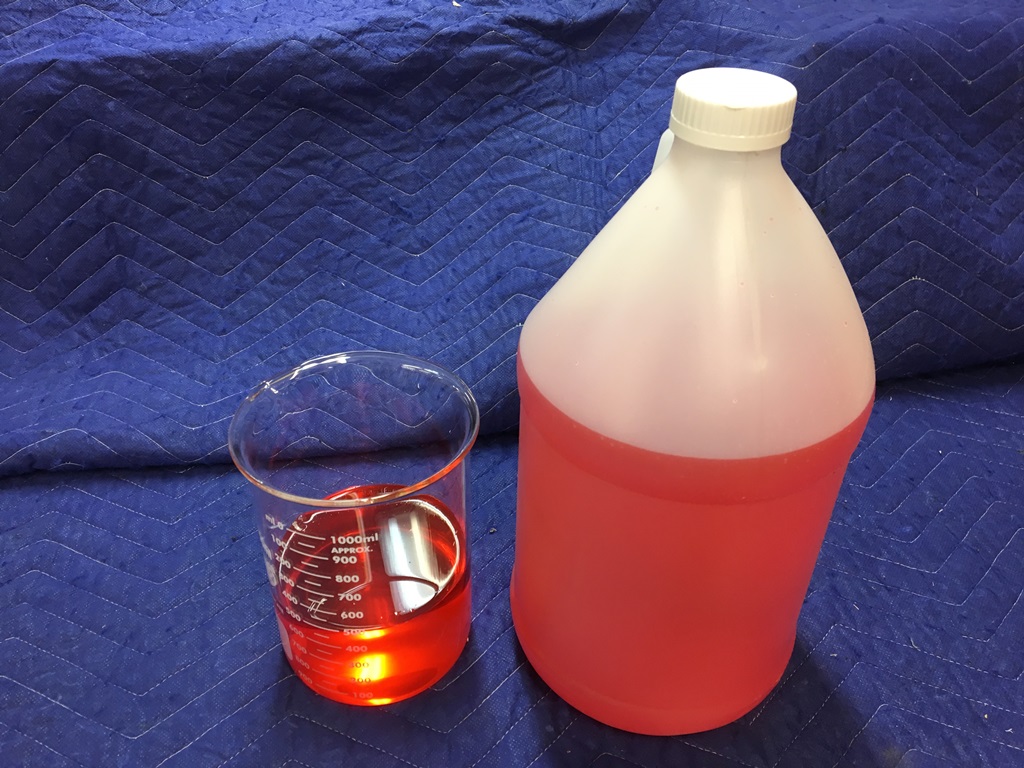
RV Antifreeze
Well, most obviously you'll need this. The big difference between RV antifreeze and "regular" antifreeze is that RV antifreeze is safe to consume. Sort of. Don't consume it in mass quantities or anything, but if a little RV antifreeze is left over in your pipes in the spring, it won't kill you. (But you won't like it.)
In the world of RV antifreeze, there are two main types. Some made with ethanol and some made with propolyne glycol. Without going into too much chemistry, I'll say that both kinds will work. But ethanol-based RV antifreeze is reported to have more negative side effects than propolyne glycol (bad taste, drying out seals, etc.). So in my shop, I only use the Propolyne Glycol kind.
The other thing to know about RV antifreeze products is that they're rated for different low temperatures. In other words, different products can protect you to different depths of cold. We use a "-50" product from Camco that's readily available at camping stores.
Side note: Camco also makes a "-100" product. Really! -100 degrees! Considering that the coldest temperature ever recorded in North America is -81.4, you should be pretty safe with that stuff.
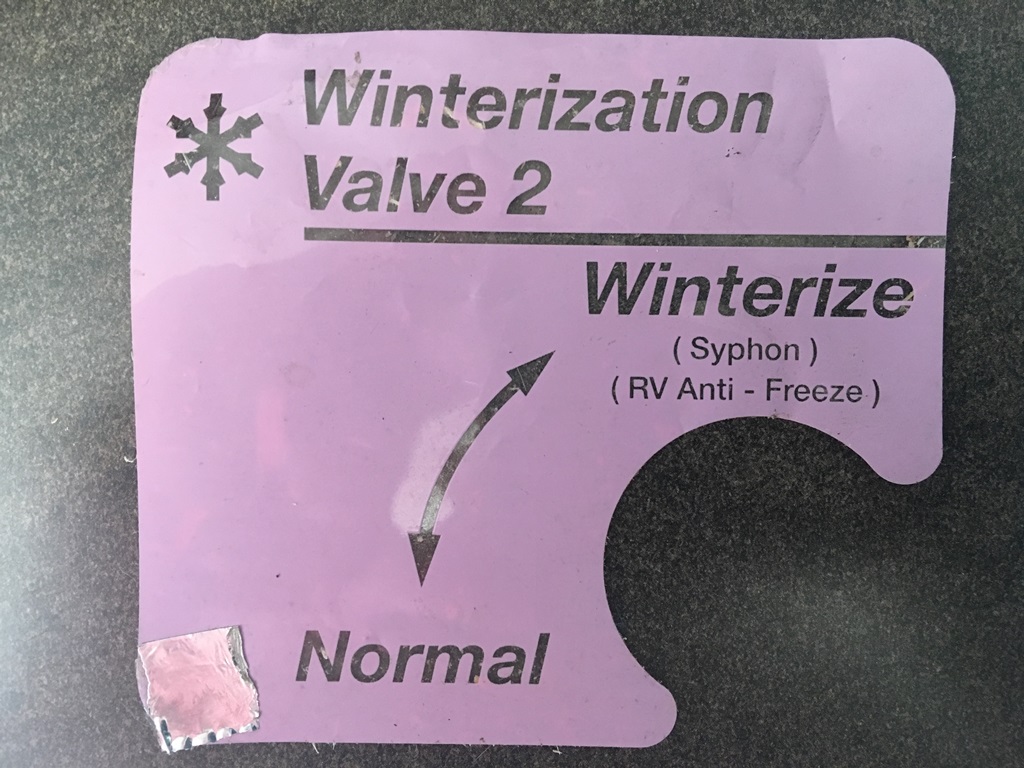
RV Water Heater Bypass
Better RVs, like our own Winnebago Travato, come equipped with this from the factory. The purpose of the bypass is to, well, bypass your rigs water heater. This is important because then you don't have to buy extra gallons of RV antifreeze to fill up your water heater. This just makes good sense. If you find a sticker that looks like this near a valve in your RV, you've probably got the bypass already installed.
But if your RV didn't come with a water heater bypass kit, don't despair! There are conversion kits readily available in the aftermarket. They're not expensive, and they're not terribly difficult to install. But if you don't know how to install it -- or don't trust yourself not to cause a leak -- any RV service center should be able to install one for you.
Beyond that, for either method, you'll need a few basic hand tools to remove drain plugs and such. You'll also want to have some rags on hand to clean up any water or antifreeze that gets out of control.
The procedure for winterizing your exact rig should be spelled out in your owner's manual. But whichever method you choose, with the supplies listed above, you should be ready to complete the task and protect your rig's plumbing system from winter temperatures.
Comments
Comments on this post are moderated, so they will not appear instantly. All relevant questions and helpful notes are welcome! If you have a service inquiry or question related to your RV, please reach out to the customer care team directly using the phone numbers or contact form on this page .