
Organizing and Archiving Your Photography (Part 2 of 3)
With almost half a million images flowing through our two man operation each year, a well organized workflow is paramount. Not only for the obvious reason of being able to provide an image to a client at a moments notice, but also to provide an efficient system that minimizes our time spent behind the computer. Of course we use professional software (Adobe Lightroom) that is designed for our intensive demands, but the system that we use could be implemented on any computer without specialized software.
 Feeling a bit overwhelmed and out of control when it comes to organizing your images? Here are a few tips that will help.
1. Download your camera after every "shoot". We break everything that we do into discrete increments so that we can easily sort through our files after the fact. I would recommend downloading by either location or event - whichever is more relevant for you. For example, we just spent four days at Big Bend National Park. We saved all of the images from that four days in a folder labeled with the date and location so that we can easily find them years from now. (Sample Filename: 2016-01-29 Big Bend National Park. NOTE - if you put the year first, then all of your events will be sorted chronologically.) Do not put anything else in this folder! If you are diligent about downloading after each location/event, your files will be quickly and easily organized and your camera will be cleaned off and ready for the next adventure - if you delay downloading until your camera is full, you will find yourself with a disorganized mess that is too overwhelming to deal with.
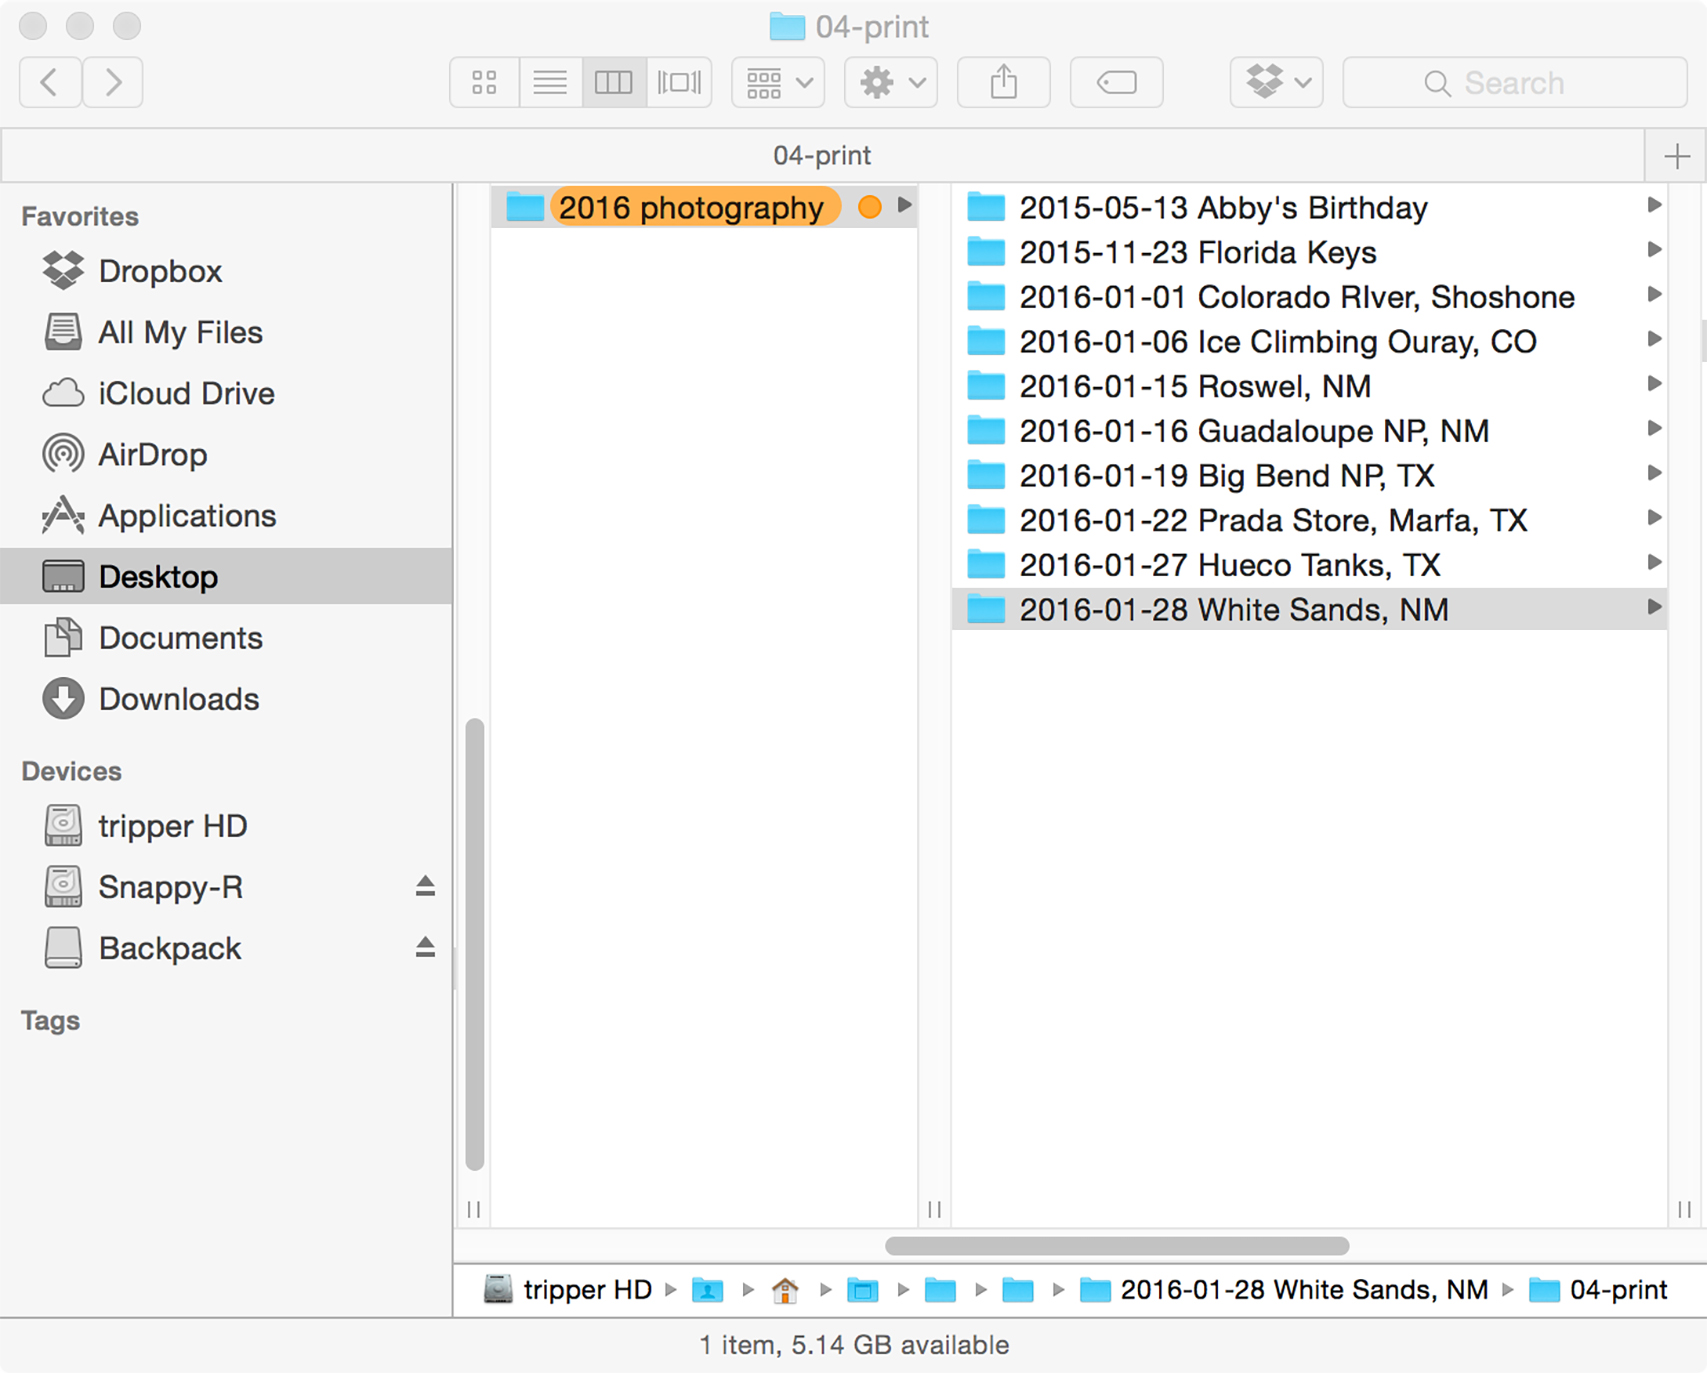 By downloading after every "shoot" and labeling each folder with first the date (year-month-day) and then location or event, you will be able to sift through a large quantity of images quickly and easily.
2. Every time you download, take a few minutes to go through all of the images and mark your favorites. Inevitably, only a small percentage of the images you take will be remarkable. For us, we typically use about 10% of the images that we create (stay tuned for Part 3 for ideas on what to do with your images). Almost every single photography software has some type of ranking feature built in. We identify our favorites with two stars. (NOTE: We do not ever delete a single image. There is a story of a Whitehouse staff photographer who photographed Bill Clinton during his presidency. One day he hurriedly deleted some images from his camera of Clinton in his office with some of his staff before uploading them to his editor. The next day the story broke of the scandal with Monica Lewinski. The photographer, to his horror, realized that he had deleted many images of the two of them together, that at the time seemed benign, but in retrospect were quite compromising and in turn incredibly valuable. The moral is that you never know the potential of any given image, so rather than deleting images, mark your favorite images instead.)
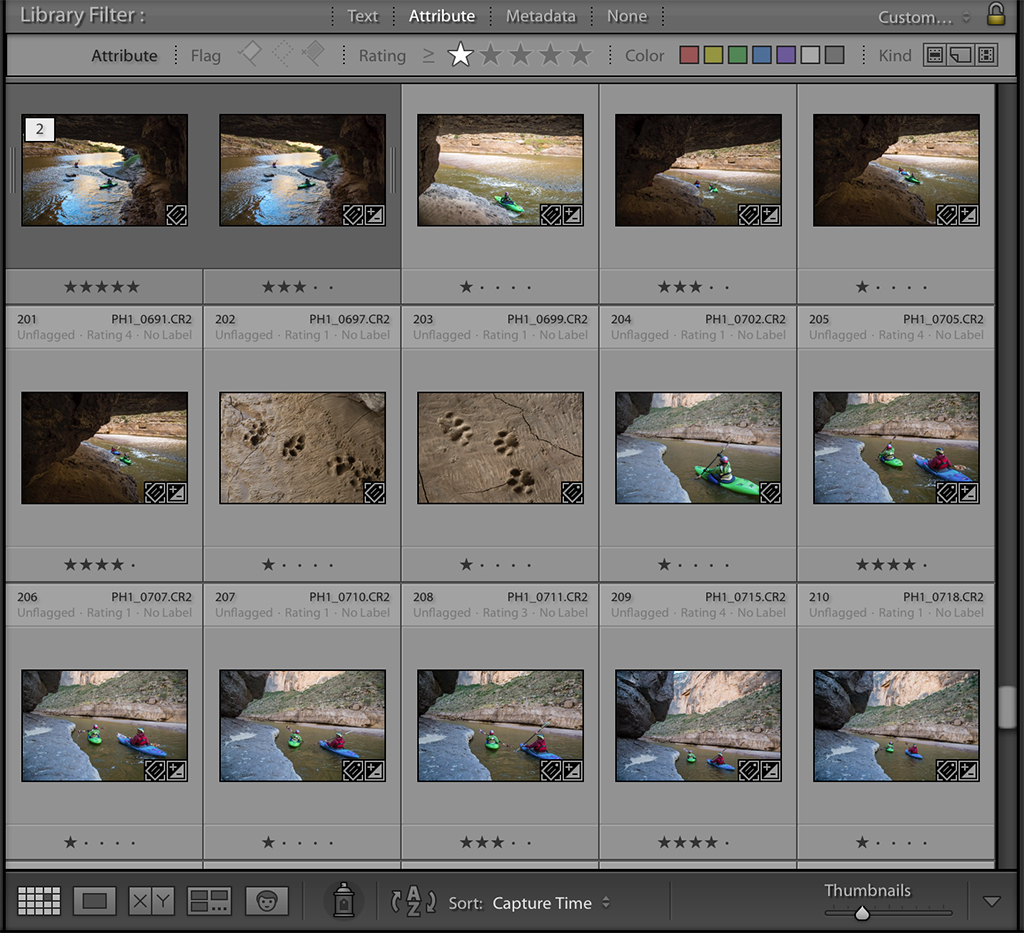 Take some time to identify your favorite images. It can be something as simple as putting an asterisk in front of the file name or using a software with a ranking feature. Just use a system that you can easily search after the fact to quickly find your favorite images.
3. Take some time to shine up your VERY favorite images. There are many, many softwares that are available to make adjustments that will bring out the best in your images. For images we capture on our phone, we use the Snapseed app which offers a variety of finishing options to help bring out the best in your images. On a computer, there are a variety of free consumer software options including iPhoto and Gimp to professional programs such as Adobe Photoshop and Lightroom that allow for more sophisticated adjustments.
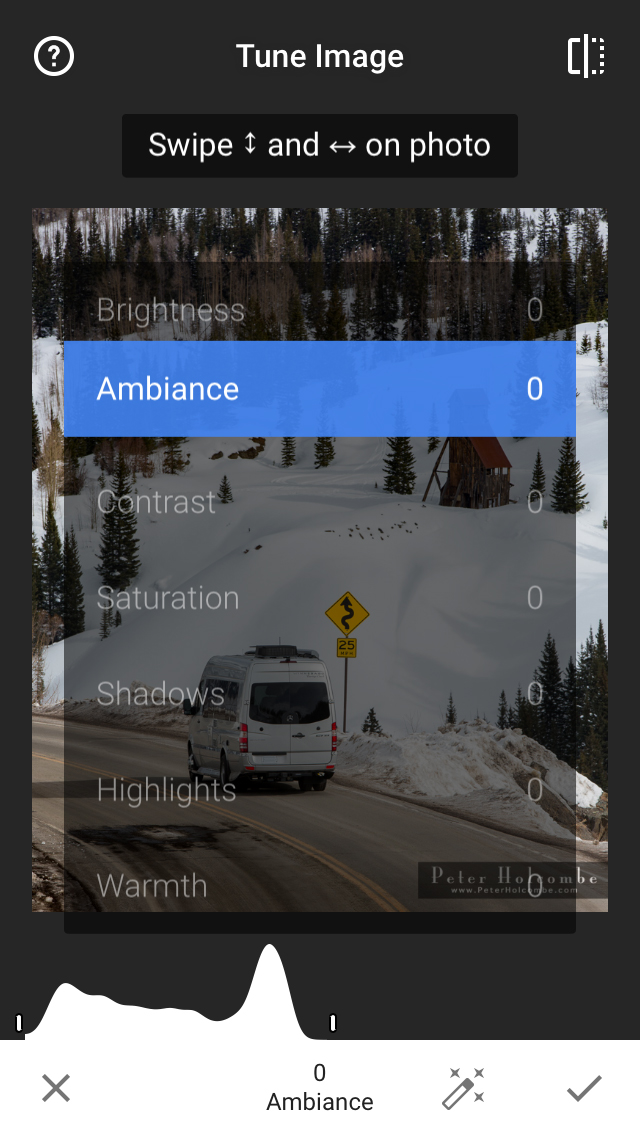 Snapseed allows you to add a variety of effect to your images giving them a polished feel.
4. Lastly, be sure to make AT LEAST TWO (and preferably three or four) back up copies of ALL of your images. Inevitably, hard drives WILL fail, so do not risk losing your photographic heritage by putting all of your eggs in one basket so to speak. Your backup system could be as simple as dragging a copy of your folders of images onto a series of hard drives or uploading them to a cloud service such as iCloud or Carbonite. Regardless of the system, just be sure to back up your entire image archive consistently.
While organizing and protecting your images may not be the most inspirational facet of photography, it is certainly a critical component to ensure that your images will last beyond your current phone/computer. And by proactively managing your files in small doses, it really is an easily managed task.
 By proactively managing your images, your precious memories will be easy to find with just a few clicks of the keyboard.
Happy organizing!
Kathy
Comments
Comments on this post are moderated, so they will not appear instantly. All relevant questions and helpful notes are welcome! If you have a service inquiry or question related to your RV, please reach out to the customer care team directly using the phone numbers or contact form on this page .