
3 Essential Things to Know for Your First RV Trip
3 Essential Things to Know for Your First RV Trip
How to avoid an #RVFail as a beginner!
By: Nadia & Jon Bajuelo
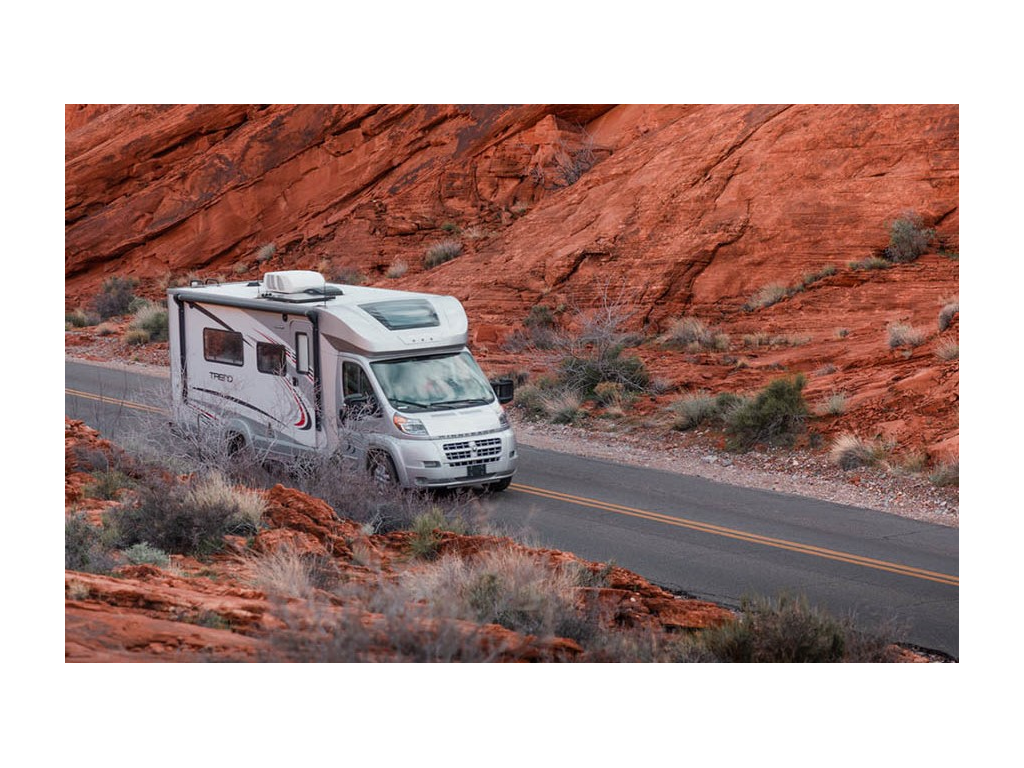
We have fond memories of our first RV trip.
We pulled into the state park under the stars, minutes before they closed. It was so dark, there was no way to see if we were pulling into a campsite or off a cliff.
Before long, Jon gave up on my attempts to guide him into our site via walkie-talkie. The painfully slow maneuvering into our site was followed by a scramble to find the RV power cord. Hours later, we couldn’t get the lights on or the AC running on that hot August night.
The full details make a great campfire story.
We will say, the night ended with two very tired and hungry people sleeping right on the plastic new RVs have wrapped around mattresses and cushions. These two people went to sleep after finding the power cord at 4 a.m. While they slept, RVers driving out the next morning did a double take as they drove by a shiny new RV with a power cord, suspended three feet in the air, barely clinging on to the power pedestal.
Quite the #RVFail! But now we get to help you plan for a great first RV trip – whether renting or trying out your rolling home for the first time. It’s easy with an understanding of the following three RV essentials.
1. Power
For things to turn on, your RV generally uses some combination of battery power, propane, and shore power (the combination varies – for example, the Revel uses no propane).
Since this is a first-timers guide, we’re going to assume you’re taking it easy on yourself and have booked a campsite with electric hookups (aka shore power) for your very first trip.
However, if you are boondocking, GoLife has some great tips for finding boondocking spots and even making no-hookup camping work with young kids!
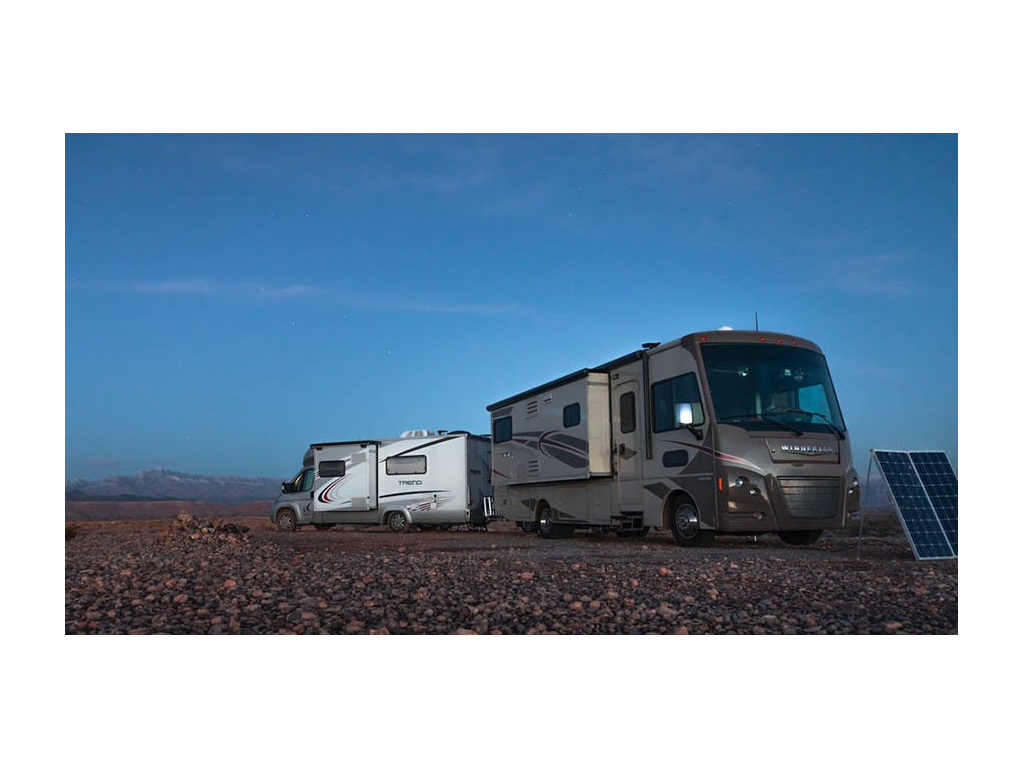
Your Power Cord
A campsite with electric hookups loses its main benefit if you don’t have a power cord. From experience, equally as important, is knowing where it is!
For some RVs, especially motorized RVs, your power cord will be in a dedicated compartment. In some cases, it doesn’t even come off the RV, so it would be hard to lose track of.
Other RVs, however, may have the power cord initially stored in a storage bay. In this case, the cord does unplug from the actual RV, so it’s a good idea to get in the habit of always storing it back in the same place when you’re done camping.
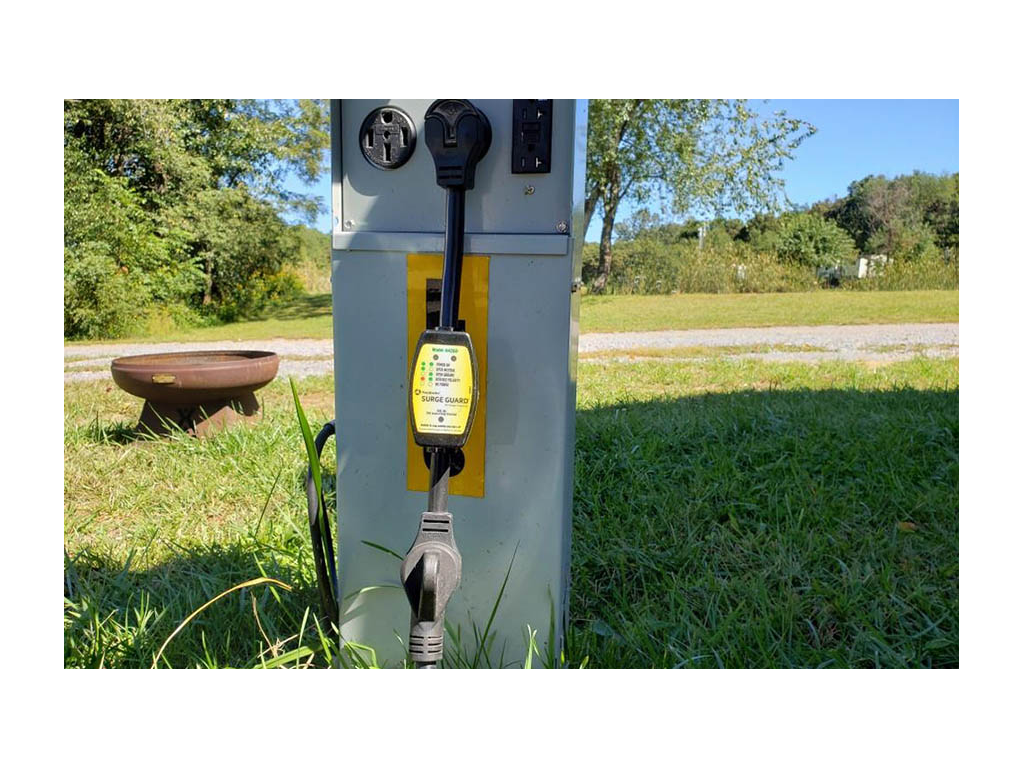
30/50-amp Power
You also want to make sure your site has the right hookup. Some RVs use 30-amp hookups; some 50-amp. You’ll want a campsite with the corresponding hookup.
Some campsites will have pedestals with both 30- and 50-amp hookups on them, but not all.
A handy accessory is a dogbone adapter (either 30-amp to 50, or 50-amp to 30). It won’t change your power capacity, but it will give you flexibility if you get stuck with a faulty connection, or the one you want isn’t available.
We’d also say, that as an added bonus... the dogbone adapter can give your power cord a little extra length should you find yourself a little farther from your power pedestal than you thought.
The Power Pedestal
A great way to avoid finding yourself in a situation where your power cord just doesn’t reach, is to know where the power pedestal is on your site.
Some sites are “backwards” and have the power pedestal on the awning side rather than your hook-up side. That’s what happened to us our first night. Sometimes pedestals are awkwardly located.
It’s also super helpful to arrive while it’s still light out. Parking and setting up the RV in the dark adds a layer of complexity you’ll want to avoid whenever possible. You can take stock of your campsite’s layout best in the daylight. Always take a look before you go through the trouble of parking, especially if you’re in a towable. (See more beginner towable tips here).
And speaking of pedestals, they can expose your rig to any electrical problems a campground has. Without a surge protector, it’s easy to damage your AC, microwave, or any high-amp items in your RV. A must-have accessory is a surge protector with built-in polarity tester. You wouldn’t want to fry your RV’s electrical system your first time out!
2. Water & Tank Basics
For many, handling the tanks is one of the most intimidating aspects of RVing. While this area of your RV can indeed lead to some unforgettable #RVFails, they can be avoided!
How Water Works in an RV
Your RV needs a supply of water for the faucets to work. At a campsite with water hookups, you can hook up to city water. This makes your water supply as “infinite” as it is at home, but keep in mind the water goes down the drain and into your grey tank, which does not have infinite capacity.
Some campsites have what is called “full hookups” which means you have electric, water, and sewer. Even with full hookups, you still have to open your grey tank valve for the water that goes down your drain to leave your RV.
If your campsite doesn’t have water hookups, you’ll need your own water supply. Fill your RV fresh tank before you head out. Your RV water pump will send water from that fresh tank to your faucets when you open them. Remember, this supply is limited.
Three Must-Have Accessories
For best results when using city water at a campground, be sure to pick up three accessories.
- Water filter. This will ensure that your water is suitable for use.
- Pressure regulator. The regulator makes sure that the water coming out of the campground supply isn’t too high pressure. If it is, fittings and internal plumbing in your RV could be damaged.
- An elbow for your sewer hose. The elbow allows you to connect in such a way that the angle isn’t aggressively yanking down on your RV connection point.
Dumping & the Black Tank
When your RV toilet is flushed, it empties into your black tank. Your black tank also has a limited capacity. Remember, even with sewer hookups, your black tank valve has to be open for contents to flow out of your black tank.
Always monitor how full your fresh, grey, and black tanks are. In your RV, you’ll have a panel where you can check tank levels. If tanks get too full, the contents will back up and begin emerging from your drains into the sinks, shower, etc.
At a campground, you can dump at the designated dump station, or right at your site if you have sewer hookups. For those of you going full hookups the first time out, bring along a sewer hose extension. Just like with the pedestal, you never know how far the hookup may be placed.
If you find yourself at a site with partial hookups or none at all, consider an auxiliary dump tank that can be transported to the dump site. It might allow you to extend your stay or avoid the hassle of packing the RV just to dump your tanks and having to return to your site and re-do your entire setup.
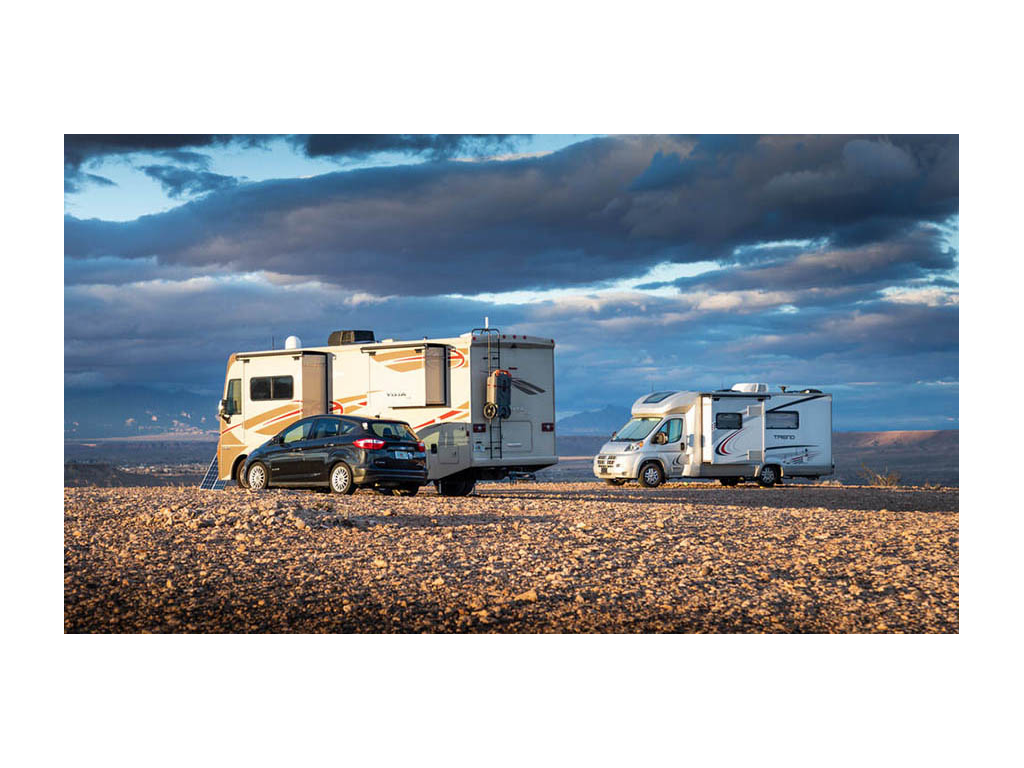
Auxiliary dump tanks can often be stored on the ladder of your RV, as shown on this Vista.
Tips for Dumping Your Tanks
We’re going to include a very quick and dirty guide here, so nothing gets...um dirty, when you do go dump your tanks. You want your first trip to be more Instagram, less viral Facebook video.
It is very important to make sure connections on both ends of that sewer hose are SECURE. Your RV will have a fitting, make sure the hose is tightly screwed on. Over on the into-the-ground end there may or may not be a fitting. If there is no fitting on that end (like at many dump stations), you’ll probably see what appears to be a random rock lying around.
That rock is not random. Use the rock to hold down that end of your hose securely. Think of a little kid using a hose for the first time. They’re over at the faucet and the water end has been left to its own devices. The hose ends up wildly dancing out of control, spraying water everywhere. You’re not dealing with water, so don’t leave either end of the hose to its own devices.
To further help, do not yank the tank valves open all the way. First, open the black tank valve about a quarter of the way. You want to control the pressure, so that if there are any funny angles or too much pressure, no hose does any wild dancing.
If things are looking calm and peaceful, open about halfway and continue slowly until the valve is all the way open. Repeat the process with the grey tank valve. The grey water going last helps wash away black tank residue, so it is recommended to flush your tanks in that order.
3. Set Yourself Up for Leveling Success
We’ve seen many RV newbies parked visibly off level without a clue that this could be causing multiple issues.
Why Leveling is Important
While being off level is a safety hazard when walking around and sleeping in your RV, it can also damage some appliances.
Many RVs have a fridge that works off of propane when it’s not plugged in, for instance. It will stop working if you’re not level.
Tools for Leveling
To properly level you need to have blocks and a level. We recommend store bought blocks, rather than using other materials, because these are perfectly flat and securely interlock.
Better than blocks, rent or buy an RV with auto leveling! We’d love to have auto leveling. But, in the meantime, we’ve gotten pretty good at leveling. And even if you have an RV equipped with power leveling jacks, it’s always advisable to carry a set of blocks just in case.
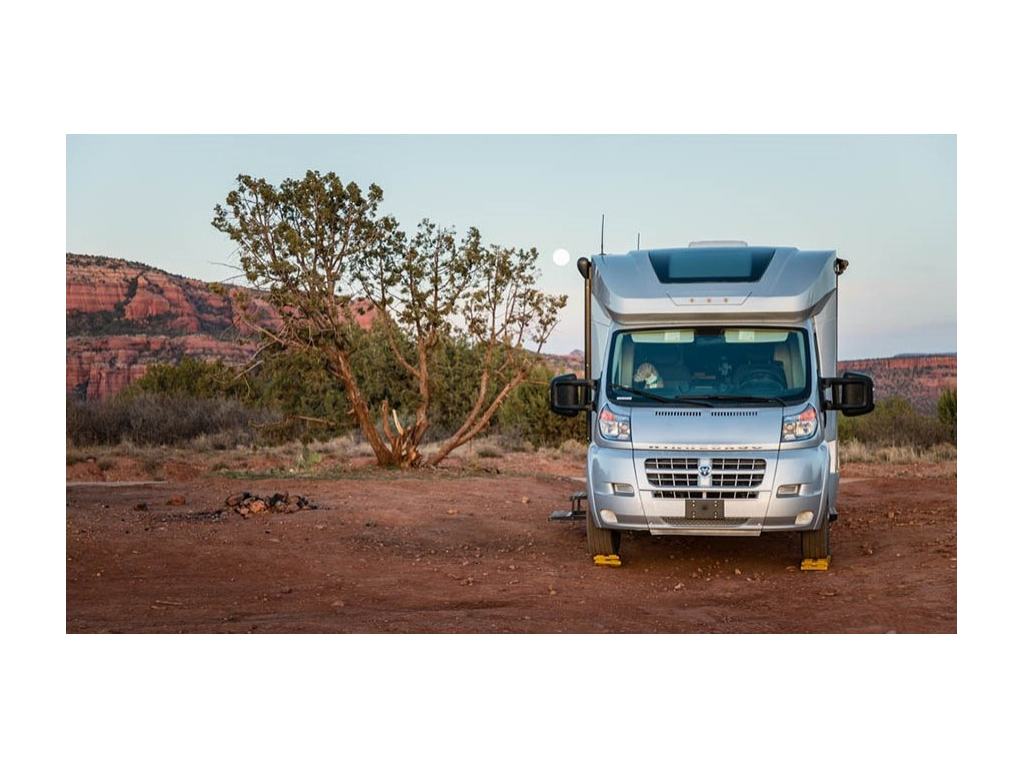
Your manual leveling process will differ depending on what type of RV you have and where it is off-level (front-to-back or left-to-right). The number of blocks you use will also vary, depending on how off-level your RV is. It often takes a few tries to get it just right, but it gets easier with practice. For a detailed breakdown on both manual and auto-leveling, you can check out our full leveling guide.
And don’t miss this checklist for setting up an RV campsite for the first time, as well as this one on packing up a campsite, to make sure you don’t forget any important steps!
We hope you have a wonderful first RV trip. But, remember, #RVFails are okay! They end up making great stories. We had a pretty solid #RVFail of a first night, but it has still led to many years of happy RVing. Sure, we didn’t grill juicy NY strip steaks and triumphantly FaceTime family for dinner as planned, but now we have a great story to finish telling you when we see you around the campfire.
Comments
Comments on this post are moderated, so they will not appear instantly. All relevant questions and helpful notes are welcome! If you have a service inquiry or question related to your RV, please reach out to the customer care team directly using the phone numbers or contact form on this page .